Sterilization Pouch for Dental & Surgical Instruments: Complete Guide for Safe and Compliant Practice
Release time: 2026-03-10
Infection control is the undisputed backbone of any reputable dental clinic, surgical center, or healthcare facility. At the heart of this protocol lies a simple yet highly engineered tool: the sterilization pouch. Whether you are preparing basic scalers or complex surgical arrays, choosing and using the right sterilization pouch for dental and surgical instruments is critical to patient safety, regulatory compliance, and the longevity of your tools.
This complete guide will walk you through everything you need to know about sterilization pouches, from understanding their material construction to mastering compliance standards and avoiding common clinical errors.
What Is a Sterilization Pouch?
A sterilization pouch is a single-use medical package made from medical-grade paper and transparent multilayer film. It allows sterilizing agents like steam to pass through while keeping bacteria out afterward.
Practical Example:
In a mid-sized dental clinic handling 30–50 patients per day, each procedure may involve 5–10 instruments. That adds up to:
- 150–500 instruments daily
- Each needing proper sterilization and storage
If instruments are left exposed after sterilization—even briefly—they can pick up airborne contaminants quickly, especially in busy clinics.
Why Sterilization Pouches Matter
Infection Control & Risk Reduction
Improper handling of sterilized instruments contributes to a significant portion of healthcare-associated infections. Some studies estimate this risk can reach 20–30% in outpatient environments where protocols are less strict.
Case Scenario:
A dental clinic experienced repeated patient complaints after treatments. The issue wasn’t the sterilization process itself—it was storage:
- Instruments were sterilized correctly
- They were left uncovered afterward
Once the clinic introduced sterilization pouches with indicators:
- Infection-related complaints dropped by over 70% within three months
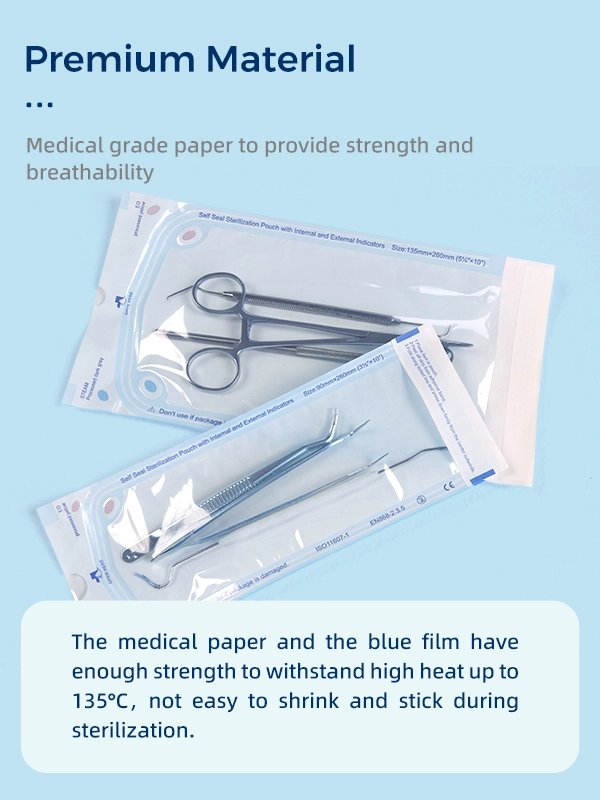
The Anatomy of High-Quality Sterilization Packaging
Not all pouches are created equal. To ensure maximum safety and compliance, top-tier sterilization pouches are manufactured using specific, medical-grade materials. When evaluating your supply chain, look for these structural components:
1. Medical-Grade Kraft Paper
The backing of a standard pouch is made from heavy-duty, medical-grade Kraft paper. This specialized paper is engineered with a specific porosity. It allows sterilant gases (like steam or EO) to penetrate the pouch and eliminate microorganisms but creates a tortuous path that prevents bacteria from entering once the pouch is dry and the cycle is complete.
2. Multi-Layer Polymer Film
The transparent side of the pouch is usually constructed from a multi-layer co-polymer film (often a blend of polyester and polypropylene). This clear blue or green-tinted film allows dental assistants and surgeons to easily identify the instruments inside without compromising the sterile barrier. It also must be highly puncture-resistant to withstand sharp explorers and scissors.
3. Built-In Chemical Indicators
Modern pouches feature internal and external chemical indicators. These indicators change color when exposed to the specific variables of sterilization (time, temperature, and sterilant). For example, a steam indicator may change from pink to brown or black, confirming that the package was successfully processed.
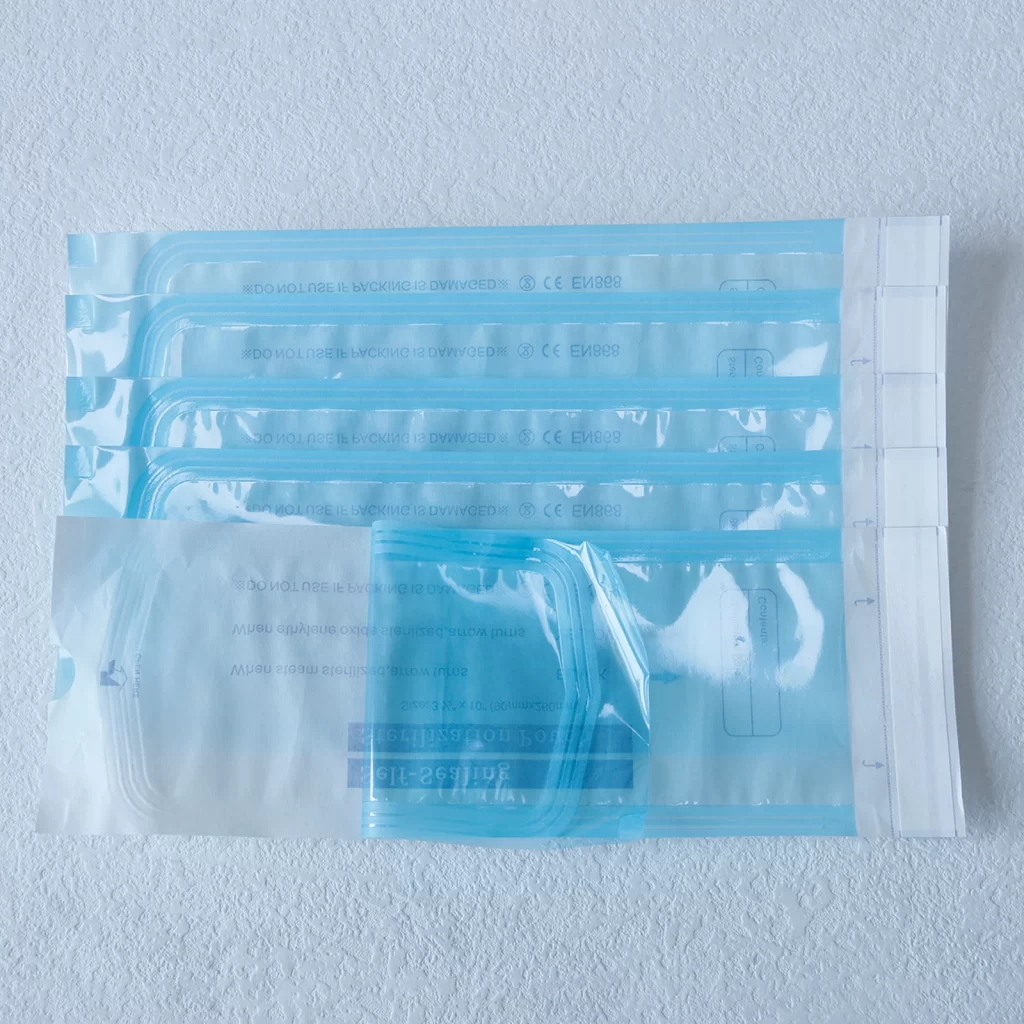
4. Wide Self-Sealing Adhesive Strips
While some clinics use heat-sealed rolls, self-sealing pouches are the industry standard for efficiency. A high-quality sterilization pouch will feature a wide, perforated adhesive strip that ensures a secure, airtight seal, preventing blowouts during the vacuum cycles of an autoclave.
Step-by-Step: How to Properly Use Sterilization Pouches
Even the highest-quality pouch will fail if human error is introduced into the workflow. Follow these best practices for safe instrument processing:
- Step 1: Thorough Cleaning and Drying. Instruments must be completely free of bioburden (blood, tissue) and thoroughly dried before pouching. Moisture left on instruments can interfere with the sterilization process and cause paper tearing or instrument rust.
- Step 2: Inspect the Pouch. Check the pouch for any manufacturing defects, tears, or compromised seals before use.
- Step 3: Loading the Instruments. Place the instruments into the pouch. If using hinged instruments (like forceps or scissors), ensure they are in the open or unlocked position so the sterilant can reach all surface areas.
- Step 4: Avoid Overstuffing. The pouch should only be filled to about 75% capacity. Overstuffing puts stress on the seams and can cause the pouch to burst during the pressure changes of the autoclave cycle.
- Step 5: Expel Excess Air. Before sealing, gently press the air out of the pouch. Trapped air can inhibit steam penetration.
- Step 6: Fold and Seal. Fold the adhesive flap exactly on the perforated line. A crooked or partial seal creates micro-gaps where bacteria can enter.
- Step 7: Positioning in the Autoclave. Place pouches flat in a single layer or on edge using a rack. Do not stack them heavily on top of one another, as this prevents steam circulation. Place them “paper-to-plastic” to allow proper drying.
Common Mistakes to Avoid in the Sterilization Room
Maintaining a sterile workflow requires constant vigilance. Here are the most frequent errors clinics make regarding their dental packaging:
- Using the Wrong Size Pouch: Forcing a large surgical cassette into a small pouch risks punctures. Using a massive pouch for a single dental mirror wastes space and can lead to poor sealing. Always match the pouch size to the instrument load.
- Writing Directly on the Paper Area: If you need to label a pouch with a date or batch number, write only on the transparent plastic side or the designated indicator area using a specialized non-toxic marker. Writing on the paper can compromise the microbial barrier.
- Removing Pouches While Wet: If pouches come out of the autoclave damp (often called “wet packs”), they are considered unsterile. Moisture acts as a wick, drawing bacteria through the paper. Allow them to dry completely inside the autoclave before handling.
Compliance and Safety Standards
Regulatory compliance is non-negotiable in dental and surgical environments. When sourcing sterilization pouches, ensure they meet global safety standards:
- ISO 11607: This international standard specifies the requirements and test methods for materials, preformed sterile barrier systems, and packaging systems intended to maintain the sterility of terminally sterilized medical devices.
- EN 868-5: This European standard details the specific requirements and test methods for sealable pouches and reels manufactured from porous materials and plastic film.
- FDA Clearance: In the United States, sterilization pouches are classified as Class II medical devices and must have FDA 510(k) clearance, proving they are safe and effective for their intended use.
- CDC Guidelines: The CDC mandates the use of internal and external chemical indicators, which is why utilizing pouches with multiparameter indicators is highly recommended.
Sourcing the Right Packaging for Your Practice
Efficiency and safety go hand in hand. When selecting your sterilization packaging, consider the volume of your daily operations. High-volume surgical centers often benefit from sterilization reels (tubing) cut to custom lengths, while standard dental practices lean heavily on pre-cut, self-sealing pouches for speed and convenience.
Ultimately, investing in premium sterilization pouches protects your patients from healthcare-associated infections (HAIs), protects your staff from accidental sharps injuries, and protects your practice from regulatory scrutiny.
FAQ
Q1: How long do sterilized pouches remain sterile?
Sterility is event-related, but under proper storage conditions, most pouches remain sterile for 6–12 months.
Q2: What is the failure rate of sterilization pouches?
High-quality pouches have a failure rate below 1% when used correctly.
Q3: Are heat-seal pouches better than self-seal?
Yes, they generally provide stronger seals and lower failure rates in high-volume environments.
Q4: Can I use one pouch for multiple instruments?
Yes, but avoid overcrowding—leave space for proper sterilization agent penetration.
Q5: What certifications should I look for?
Look for ISO 11607 compliance and FDA approval for safe medical use.