Best Practices for Safe and Compliant Sterilization Pouch Operation
Release time: 2026-03-26
When I first started working around sterilisation workflows, I assumed the autoclave did all the heavy lifting. But the truth is—a sterilization pouch for dental & surgical instruments is just as critical as the steriliser itself.
If the pouch fails, your entire sterilisation process fails.
Let’s break this down in a simple, practical way so you can choose, use, and optimise sterilisation pouches with confidence.
What Is a Sterilization Pouch?
A sterilization pouch is a single-use packaging system designed to:
- Allow sterilising agents (steam, EO, plasma) to penetrate
- Maintain sterility after the cycle
- Provide visible confirmation via chemical indicators
Think of it as the final shield between your instruments and contamination.
Why Sterilization Pouches Matter More Than You Think
Here’s the reality I’ve seen in clinics:
- Instruments can be perfectly sterilised…
- But become contaminated within minutes if stored incorrectly
That’s where pouches step in—they maintain sterility until point-of-use.
Without proper pouching, compliance = zero.
Types of Sterilization Pouches
Paper–Plastic Sterilization Pouches (Most Common)
I use these in most scenarios, especially for steam autoclaves.
Why they work:
- Breathable paper allows steam penetration
- Transparent film lets you inspect instruments
- Strong seal maintains sterility
👉 Ideal for: dental clinics, hospitals, general surgery
Tyvek Sterilization Pouches
These are built for more specialised environments.
Best for:
- Low-temperature sterilisation (e.g. plasma, EO)
- Heat-sensitive tools
Self-Seal vs Heat-Seal Pouches
- Self-seal: Quick and convenient, great for smaller practices
- Heat-seal: More consistent and secure for high-volume workflows
If you’re scaling operations, I’d strongly recommend heat sealing.
Key Features That Actually Make a Difference
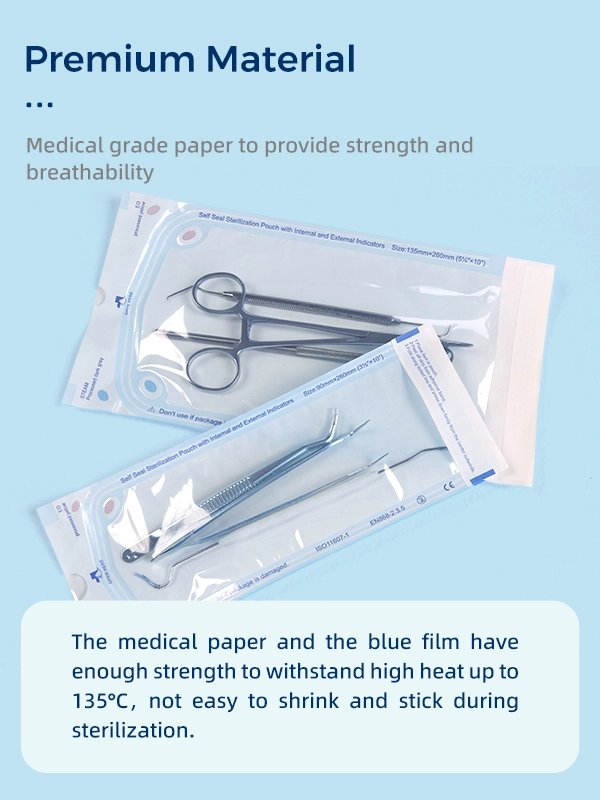
Medical-Grade Paper
- Typically 60–70 gsm
- Must achieve >95% bacterial filtration efficiency
Multilayer Film
- Thickness: 52–70 microns
- Prevents punctures and tearing
Seal Reliability
- High-quality products keep failure rates under 1%
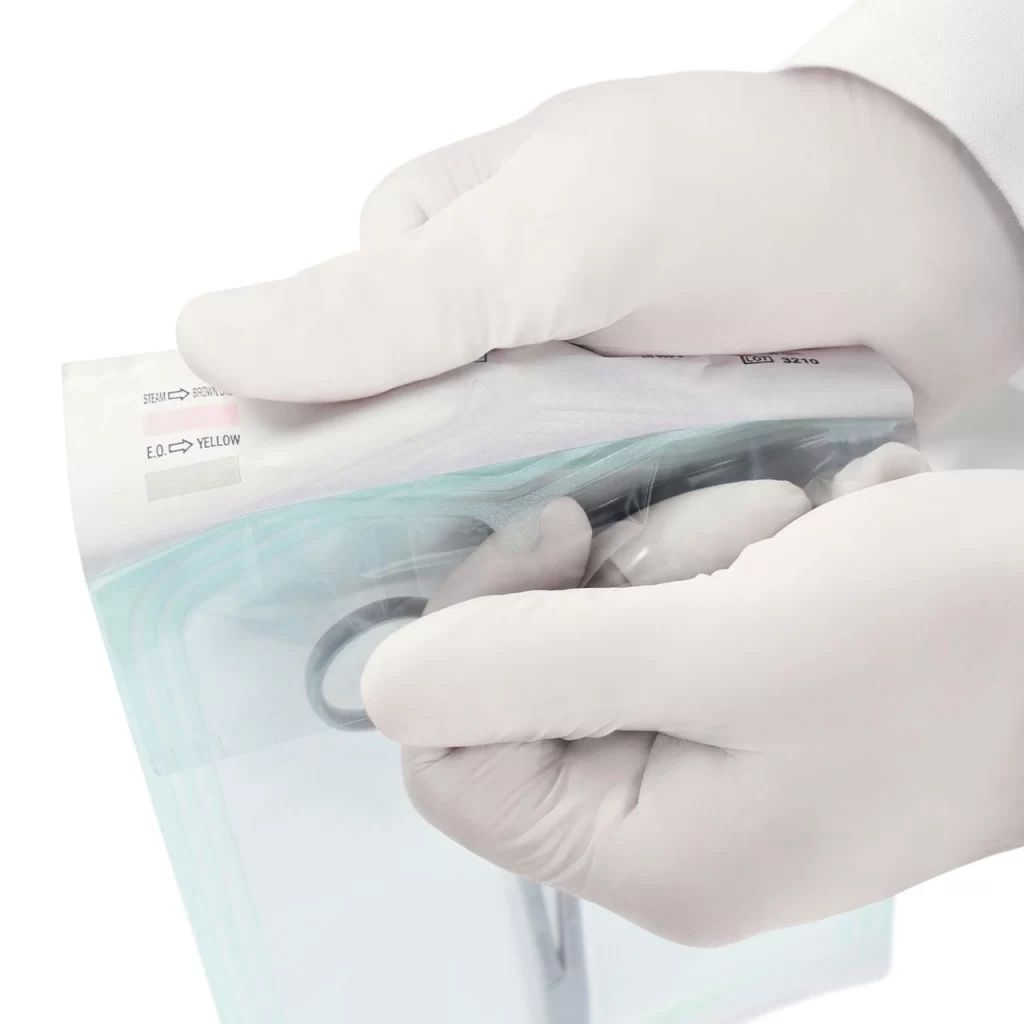
Indicators
- Basic: Class 1 (external)
- Advanced setups often use Class 4 or 5 indicators for better accuracy
Compatibility with Sterilization Methods
Different clinics use different systems, but steam dominates for a reason.
| Method | Temperature | Time | Notes |
|---|---|---|---|
| Steam | 121–134°C | 15–30 min | Widely used |
| EtO | 37–55°C | 2–5 hrs | For heat-sensitive tools |
| Plasma | ~50°C | 45–75 min | Limited pouch compatibility |
About 85% of dental clinics worldwide rely on steam sterilization—it’s faster and more cost-effective.
How to Choose the Right Sterilization Pouch
1. Match the Sterilisation Method
- Steam autoclave → paper/plastic
- EO or plasma → Tyvek
Using the wrong type is a compliance risk and a safety issue.
2. Get the Size Right (Most People Get This Wrong)
Here’s my rule of thumb:
- Leave 2–3 cm space around instruments
- Never fill more than 75% of the pouch
Why? Because airflow = sterilisation success.
3. Check the Quality
Don’t go cheap here.
Look for:
- Medical-grade paper
- Strong seals
- Puncture resistance
A low-quality pouch can tear during sterilisation—and you won’t always notice.
4. Ensure Proper Indicators
Always use pouches with:
- External indicators (process confirmation)
- Internal indicators (penetration confirmation)
No indicators = no proof of sterilisation.
5. Compliance Standards (Critical)
Make sure your pouches meet:
- ISO 11607
- EN 868
- CE or FDA certification
This is essential for audits and patient safety.
Step-by-Step: How I Use Sterilization Pouches
Before Sterilisation
- Clean and dry instruments thoroughly
- Insert without overcrowding
- Seal properly (no gaps or wrinkles)
During Sterilisation
- Place pouches on edge
- Avoid stacking
After Sterilisation
- Check indicators
- Ensure dryness
- Inspect for damage
Storage
- Keep in clean, dry, closed cabinets
- Avoid excessive handling
Common Mistakes to Avoid
I’ve seen these cause serious issues:
- Overfilling pouches
- Weak sealing
- Using the wrong pouch type
- Reusing disposable pouches
- Ignoring indicator results
Even one mistake can compromise sterility.
FAQ
Q1: Are sterilization pouches reusable?
No, they are designed for single use only to maintain sterility.
Q2: How long do sterilized instruments stay sterile in pouches?
Typically weeks to months if stored correctly in a controlled environment.
Q3: Can sterilization pouches be used in all autoclaves?
Only if they are compatible with the sterilisation method used.
Q4: What happens if a pouch is damaged after sterilisation?
The instruments must be reprocessed, as sterility is compromised.
If you’re sourcing reliable, high-quality sterilization pouches, it’s worth working with a supplier that understands both compliance and real-world usage.
At CLDT, we focus on delivering packaging solutions that balance durability, safety, and cost-efficiency—so you don’t have to compromise.